Hello,
A while ago I posted a pattern for Autumn doll
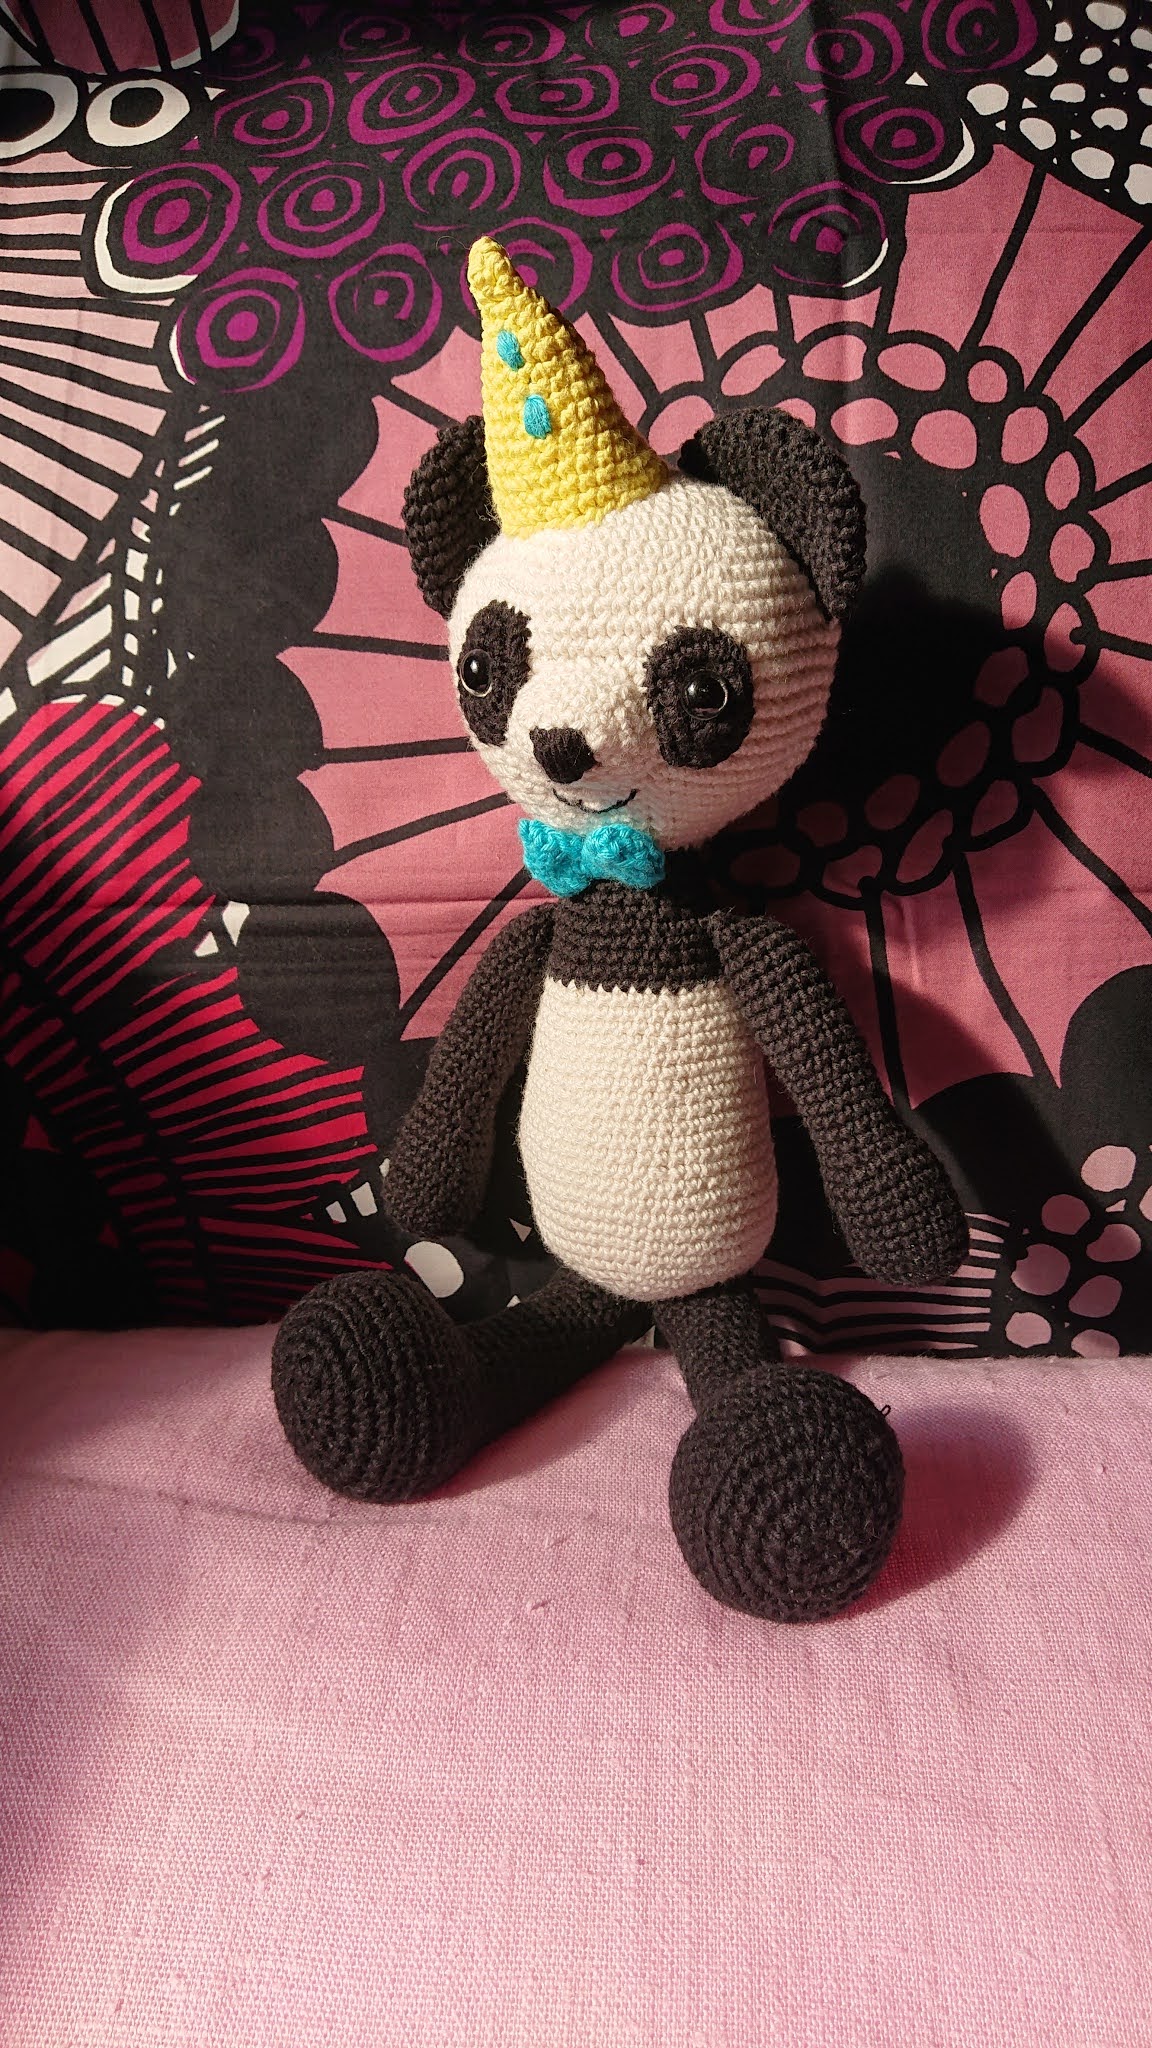
And then a couple of weeks ago (well about a month or so) I decided to modify the pattern to make a panda. I made a few alterations to the amount of rows and made ears, nose and the eyes. I really love how this little Panda turned out.
So here is my Party Panda pattern
You need
Head (make 1 with white colour yarn)
6) [2sc,
1sc x5] repeat to end
Attach safety eyes before stuffing, stuff the head. Depending on the purpose for the toy you can use some sort of pipe cleaner inside the body to hold the head better, but if you are making a toy for a child don’t put anything sharp inside the body.
Body (make 1)
With white yarn.
Ch2, 6sc to 2nd ch from the hook.
21)– 23) sc around
24) [sc-dec, 1sc x6] repeat around
25) -28) sc around
29) [sc-dec, 1sc x5] repeat around. Change to black yarn.
30) – 31) sc around
32) [sc-dec, 1sc x4] repeat around
33) -35) sc around
36)[sc-dec, 1sc x3] repeat around
37 -39) sc around
Stuff the body.
Leg (make 2)
sc around 18 rows
Stuff the legs and sew to the bottom of the body.
Arm (make 2)
With black yarn: Ch2, 7sc to 2nd ch from the hook.
Sc around for 18 rows
Stuff the arms and sew to the body.
Ear (make 2) with black colour
Ch 2, 8sc to 2nd ch from hook
Sew the ears to the head. Using pin needles to hold the ears in place really helps.
Nose (make 1)
If you want the nose to be a bit bigger, just add one [2sc, 1scx3] row to the end. Stuff the nose lightly and sew to the head.
Eye (make 2)
Sew the eyes right next to nose, the slip stitches facing the nose. Attach safety eyes. Then stuff the head firmly and sew to the body.
Party Hat
With yellow yarn Ch2, turn, sc to 2nd ch from the hook, sc to 4sc.
- Sc around
- [2sc, 1sc] repeat to end
- sc around
- [2sc, 1sc] repeat to end
- sc around
- [2sc, 1scx2] repeat to end
- sc around
- [2sc, 1scx3] repeat to end
- sc around
- [2sc, 1scx4] repeat to end
- sc around
- [2sc, 1scx5] repeat to end
- sc around
- [2sc, 1scx6] repeat to end
- sc around
- [2sc, 1scx7] repeat to end
- sc around

Bow
I knitted the bow with size 2,5mm knitting needles. I casted on 10sts and then knitted: beginning with the purl row in st-st 13 rows. Folded the bow in half, sewed all seams and rolled the remaining yarn around in the middle area of the bow to give it the bow shape. Then I attached it to the neck.
The pattern isn't tested, so please tell me if you find any errors. And sorry for the layot of the pattern, the blogger just doesn't do what I want to the numbering of the rows...
Minttusuklaa
Hi there! Thank you so much for sharing this super cute pattern! I am wondering if we/people can sell finished products or not. I couldn't find disclosures so... I'm sure people love to sell finished item and also share your link for this or your store. Please let me know to my email address! I'm thinking to have my super small online shop for only my family and friends and I'd love to include this items so know about you also. Again, thank you for this cute pattern! I'm gonna make this for friends/families no matter what!
ReplyDeleteHi, you can sell toys made from my patterns :) just not the pattern itself :) - Minttusuklaa
ReplyDelete